Woodworker's Journal 2004 Summer, страница 19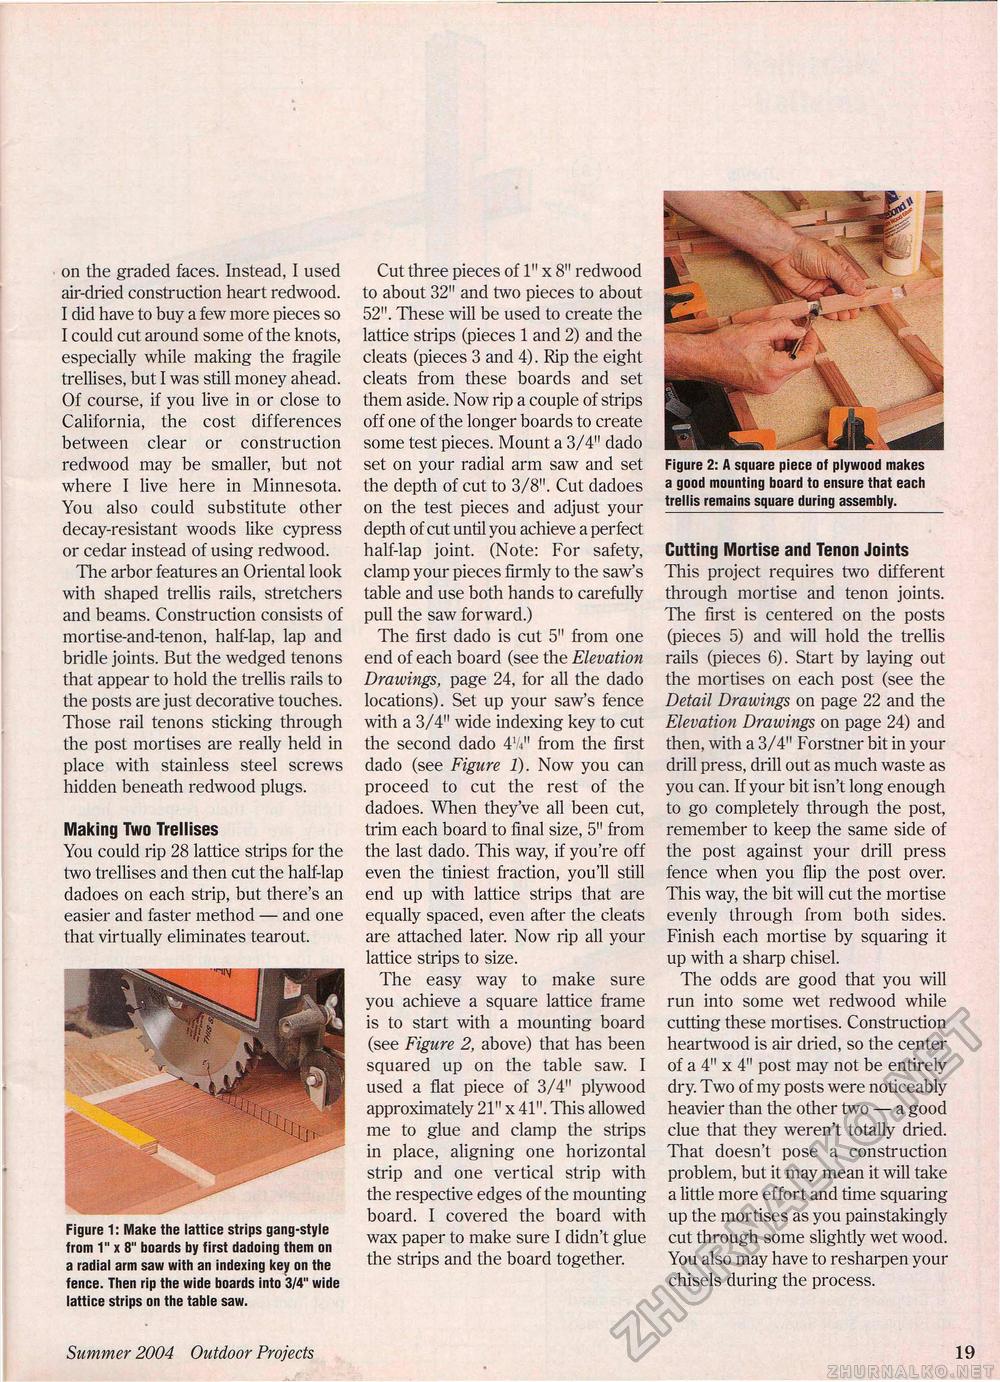
Figure 2: A square piece of plywood makes a good mounting board to ensure that each trellis remains square during assembly. on the graded faces. Instead, I used air-dried construction heart redwood. I did have to buy a few more pieces so I could cut around some of the knots, especially while making the fragile trellises, but I was still money ahead. Of course, if you live in or close to California, the cost differences between clear or construction redwood may be smaller, but not where I live here in Minnesota. You also could substitute other decay-resistant woods like cypress or cedar instead of using redwood. The arbor features an Oriental look with shaped trellis rails, stretchers and beams. Construction consists of mortise-and-tenon, half-lap, lap and bridle joints. But the wedged tenons that appear to hold the trellis rails to the posts are just decorative touches. Those rail tenons sticking through the post mortises are really held in place with stainless steel screws hidden beneath redwood plugs. Making Two Trellises You could rip 28 lattice strips for the two trellises and then cut the half-lap dadoes on each strip, but there's an easier and faster method — and one that virtually eliminates tearout. Figure 1: Make the lattice strips gang-style from 1" x 8" boards by first dadoing them on a radial arm saw with an indexing key on the fence. Then rip the wide boards into 3/4" wide lattice strips on the table saw. Cut three pieces of 1" x 8" redwood to about 32" and two pieces to about 52". These will be used to create the lattice strips (pieces 1 and 2) and the cleats (pieces 3 and 4). Rip the eight cleats from these boards and set them aside. Now rip a couple of strips off one of the longer boards to create some test pieces. Mount a 3/4" dado set on your radial arm saw and set the depth of cut to 3/8". Cut dadoes on the test pieces and adjust your depth of cut until you achieve a perfect half-lap joint. (Note: For safety, clamp your pieces firmly to the saw's table and use both hands to carefully pull the saw forward.) The first dado is cut 5" from one end of each board (see the Elevation Drawings, page 24, for all the dado locations). Set up your saw's fence with a 3/4" wide indexing key to cut the second dado W from the first dado (see Figure 1). Now you can proceed to cut the rest of the dadoes. When they've all been cut, trim each board to final size, 5" from the last dado. This way, if you're off even the tiniest fraction, you'll still end up with lattice strips that are equally spaced, even after the cleats are attached later. Now rip all your lattice strips to size. The easy way to make sure you achieve a square lattice frame is to start with a mounting board (see Figure 2, above) that has been squared up on the table saw. I used a flat piece of 3/4" plywood approximately 21" x 41". This allowed me to glue and clamp the strips in place, aligning one horizontal strip and one vertical strip with the respective edges of the mounting board. I covered the board with wax paper to make sure I didn't glue the strips and the board together. Cutting Mortise and Tenon Joints This project requires two different through mortise and tenon joints. The first is centered on the posts (pieces 5) and will hold the trellis rails (pieces 6). Start by laying out the mortises on each post (see the Detail Drawings on page 22 and the Elevation Drawings on page 24) and then, with a 3/4" Forstner bit in your drill press, drill out as much waste as you can. If your bit isn't long enough to go completely through the post, remember to keep the same side of the post against your drill press fence when you flip the post over. This way, the bit will cut the mortise evenly through from both sides. Finish each mortise by squaring it up with a sharp chisel. The odds are good that you will run into some wet redwood while cutting these mortises. Construction heartwood is air dried, so the center of a 4" x 4" post may not be entirely dry. Two of my posts were noticeably heavier than the other two — a good clue that they weren't totally dried. That doesn't pose a construction problem, but it may mean it will take a little more effort and time squaring up the mortises as you painstakingly cut through some slightly wet wood. You also may have to resharpen your chisels during the process. Summer 2004 Outdoor Projects 19 |


